
How a project runs
Most of the work happens before anything gets cut. I want to understand the space and how you live in it before I draw a single line, so the process is built around asking the right questions early and keeping you clear on cost at every stage.
Send me your space.
Use the enquiry form to send a few photos, rough measurements and a line or two on what isn't working. I just need enough to understand what we're dealing with.
A video call.
A 30-minute call to talk through how you use the space, what you'd like it to do, and a rough budget. It's free, and it's as much about you deciding whether I'm the right person as the other way round. If it isn't a good fit, I'll say so.
Visit and measure.
I come to you, measure everything properly and look at the things photos don't show: uneven walls, skirting, sockets, meters, how the light falls. There's a visit fee of £150, which comes off the design fee if you go ahead.
First idea and rough quote.
Within a few days you'll get a first visual of the idea and a price range, so you can see the direction and know whether it sits within budget before committing to anything more.
Detailed design.
Once you're happy with the direction, there's a design fee, from £250 depending on the size of the project. That covers the 3D model, materials and finishes, the internal layout and a fixed price, and we go back and forth until it's right.
Sign off and deposit.
When the design is agreed, a 50% deposit (less the design fee) confirms the job. I then finish the detail design, with every exact size and fixing worked out, and order the materials.
Making.
Panels are cut on a CNC to exact tolerances, then edged, drilled, finished and dry-assembled in the workshop so nothing gets left to chance on the day.
Fitting.
The remaining 50% is due before installation. I protect floors and walls where needed, fit everything, clean down, and walk you through it before I leave.







I come back for a quick check after a few weeks, once everything has settled and been used properly. If anything needs adjusting, that's when it gets done.
Birch plywood, love that edge
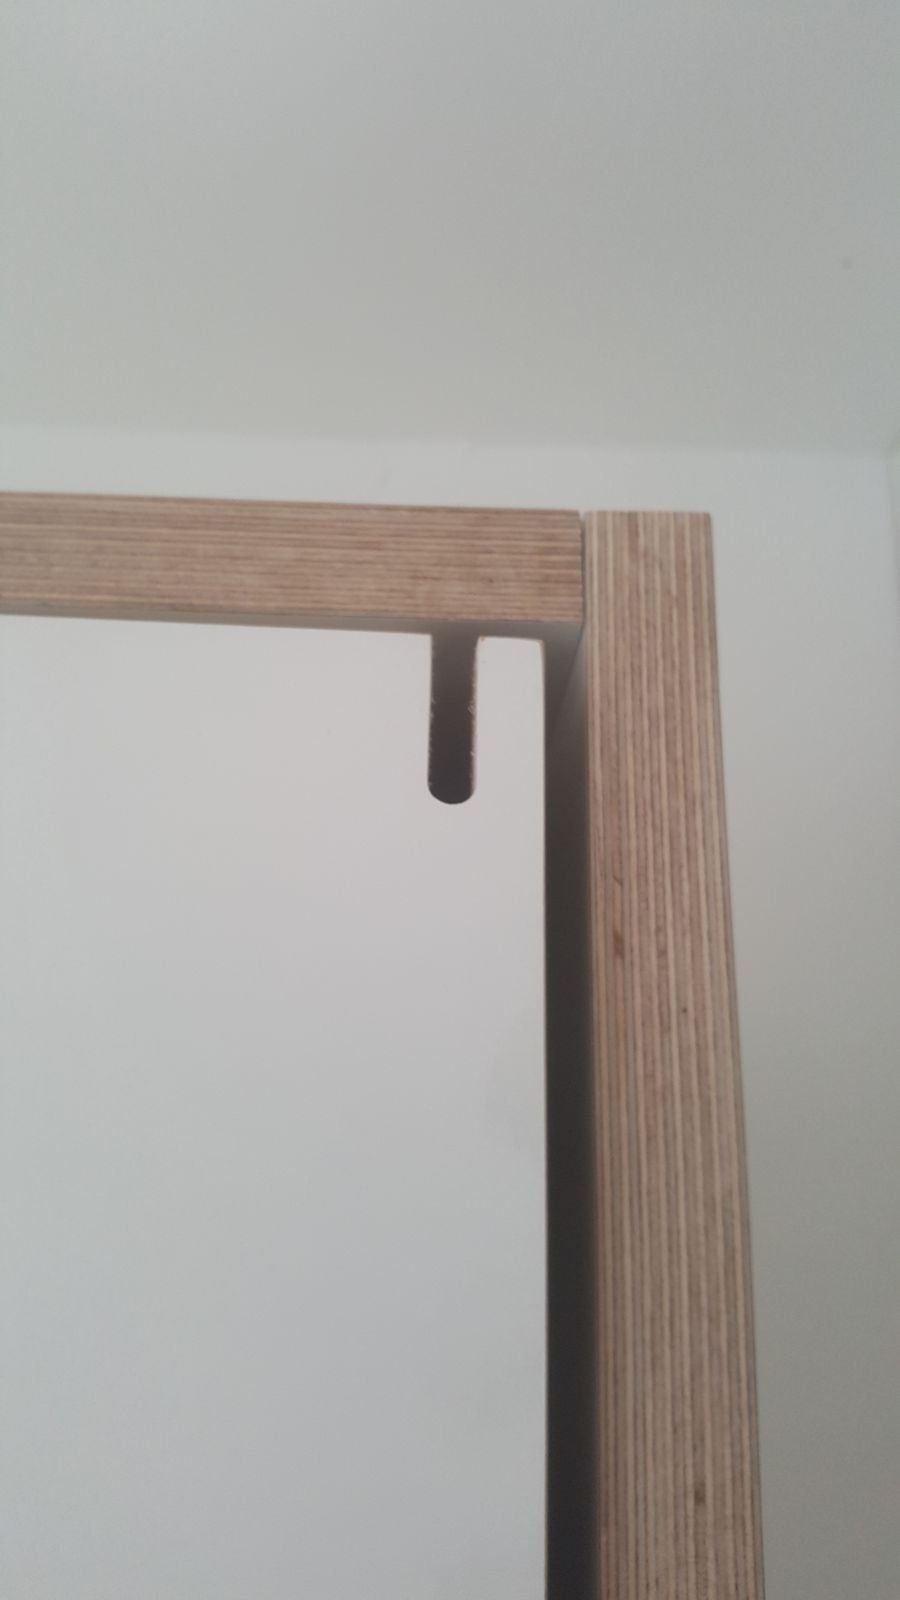
My signature material is birch plywood: strong, stable, lower in formaldehyde than MDF, and a thing of beauty when the edge is left on show. To me the layers look like the growth rings in a tree. It also doesn't need covering up with another process such as edgebanding or a spray finish.I also work with high-quality faced boards from manufacturers like Egger where a particular colour or finish suits the room or the budget better, and custom spray finishes are available. Where possible everything is joined with knock-down fittings rather than glue, so it can be taken apart, moved or adapted later.
Got a space in mind?
Send me a couple of photos and rough measurements of the space that isn't working, and we can talk it through on a short video call.